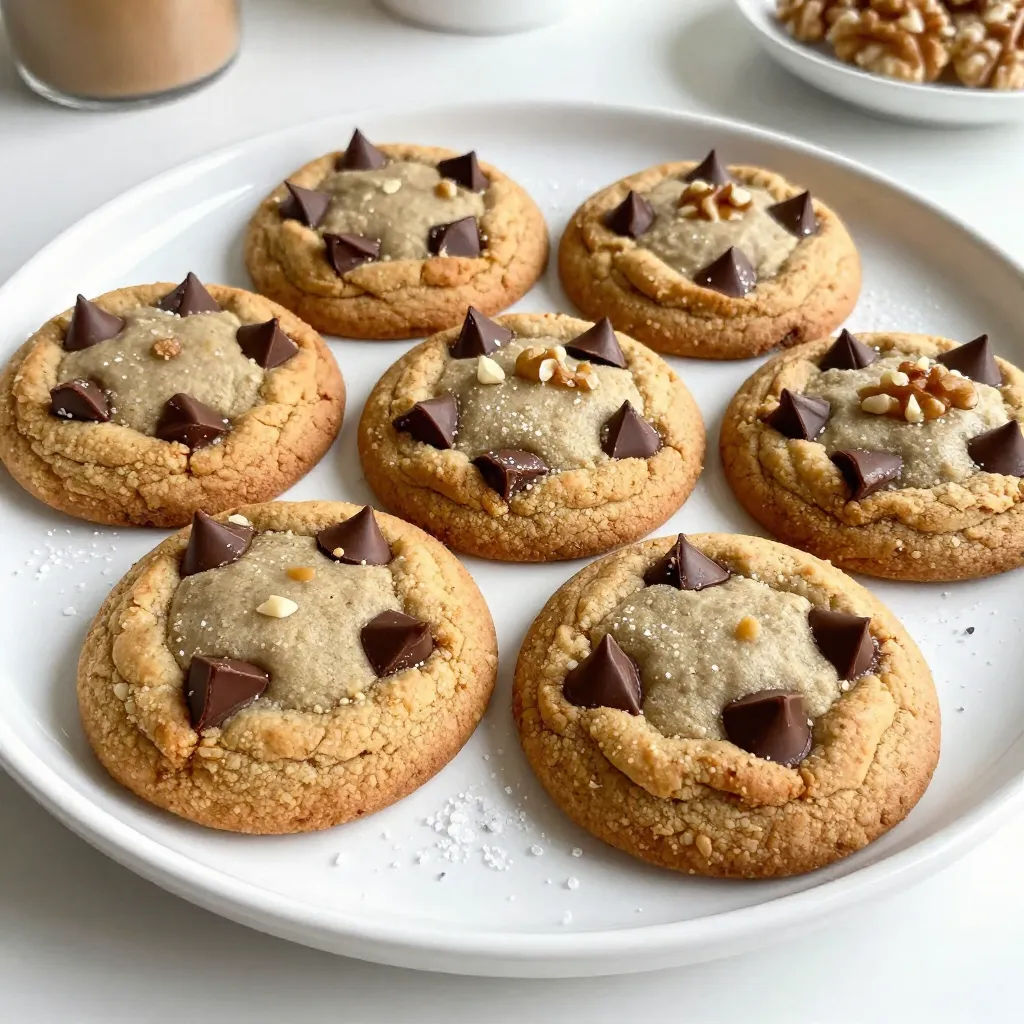
If you’re ready to take your cookie game to the next level, let’s dive into my favorite treat: brown butter chocolate chunk cookies! These cookies bring a rich, nutty flavor that elevates the classic chocolate chip cookie. In this post, I’ll guide you through easy steps, share tips for success, and even offer fun variations. Get ready to create a warm batch of cookies that everyone will love!
Why I Love This Recipe
- Rich Flavor: The brown butter adds a deep, nutty flavor that elevates the classic chocolate chip cookie experience.
- Chewy Texture: These cookies are perfectly chewy on the inside with a slight crisp on the edges, making each bite delightful.
- Customizable: Feel free to add your favorite nuts or even swap out the chocolate for butterscotch chips for a fun twist!
- Quick and Easy: With a total time of just 30 minutes, you can satisfy your cookie cravings in no time!
Ingredients
Detailed list of ingredients
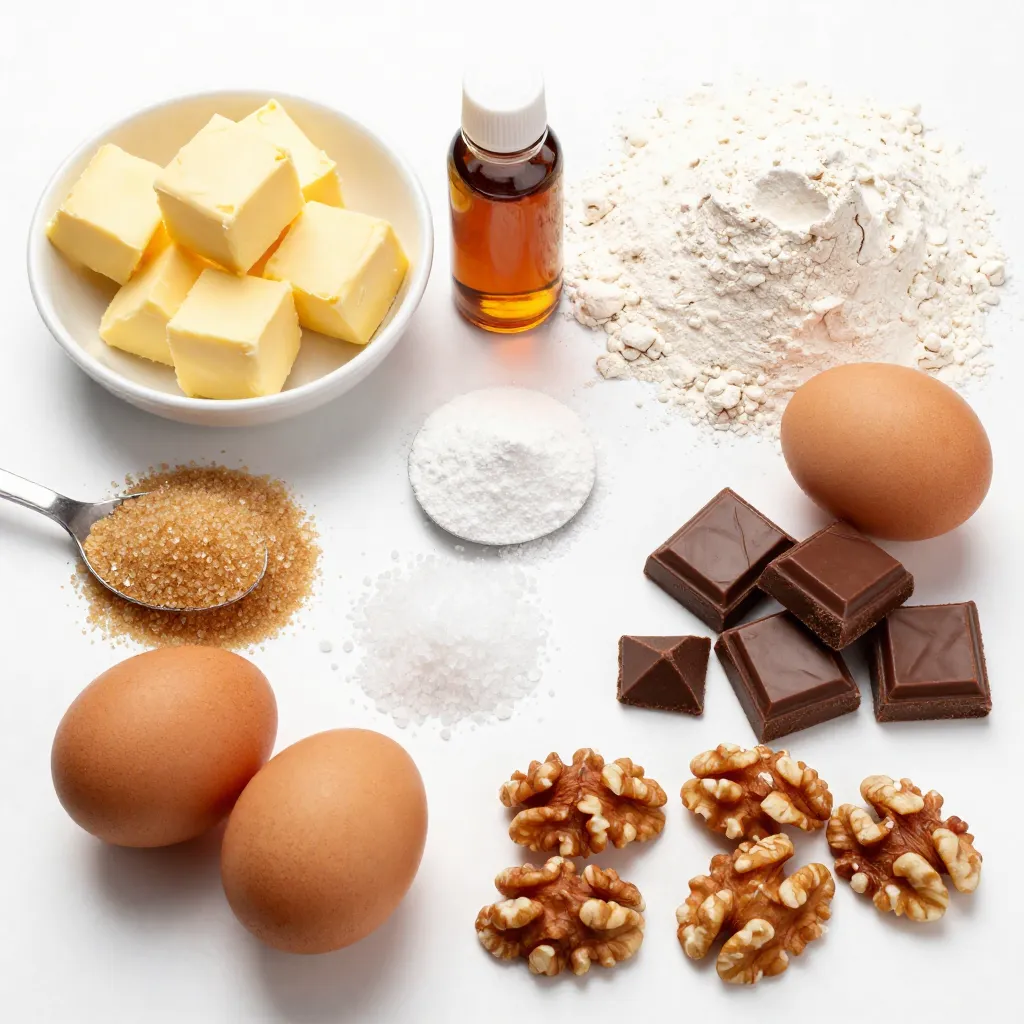
To make these cookies, you need the following ingredients:
– 1 cup unsalted butter (2 sticks)
– 1 cup brown sugar, packed
– 1/2 cup granulated sugar
– 2 large eggs
– 2 teaspoons vanilla extract
– 3 cups all-purpose flour
– 1 teaspoon baking soda
– 1 teaspoon sea salt
– 1 1/2 cups semi-sweet chocolate chunks
– 1/2 cup chopped walnuts (optional)
Measurements for accuracy
Using the right amounts is key to great cookies. The butter must be unsalted to control the salt level. Brown sugar adds moisture and flavor, while granulated sugar helps cookies spread. The eggs bind the mix and add richness. You need the flour to give structure. Baking soda helps them rise, while salt boosts the taste. Lastly, the chocolate chunks provide that sweet, melty goodness.
Optional ingredients for variations
Feel free to mix it up! You can add 1/2 cup of chopped walnuts for crunch and flavor. If you like, swap some chocolate chunks for white chocolate or dark chocolate. You could even add a pinch of cinnamon for a warm spice. Each tweak adds a unique twist to this classic treat!
Step-by-Step Instructions
Prepping the oven and baking sheets
Start by preheating your oven to 350°F (175°C). This heat is perfect for baking cookies. While the oven heats, line two baking sheets with parchment paper. This step keeps the cookies from sticking. It also makes cleanup a breeze. Make sure to leave some space between the sheets for air to flow.
Making the brown butter
Next, you will make the brown butter. In a medium saucepan, melt 1 cup of unsalted butter over medium heat. Watch it closely and stir often. After about 5-7 minutes, the butter will turn golden brown. It will also smell nutty. This is the key to rich flavor. Be careful not to let it burn. Once it is browned, remove it from the heat and let it cool slightly.
Mixing wet and dry ingredients
In a large mixing bowl, combine 1 cup of packed brown sugar and 1/2 cup of granulated sugar. Pour in the cooled brown butter. Mix it well until smooth. Now, add 2 large eggs, one at a time. Make sure to mix well after each egg. Stir in 2 teaspoons of vanilla extract for extra taste.
In another bowl, whisk together 3 cups of all-purpose flour, 1 teaspoon of baking soda, and 1 teaspoon of sea salt. Gradually add this dry mix to your wet ingredients. Stir gently until just combined. Be careful not to overmix. Finally, fold in 1 1/2 cups of semi-sweet chocolate chunks and 1/2 cup of chopped walnuts if you like. Your dough is ready to scoop!
Tips & Tricks
How to achieve the perfect brown butter
To make brown butter, start with unsalted butter in a pan. Cook it over medium heat. Stir it often. Keep an eye on it. After about five to seven minutes, it will turn golden brown. The butter will give off a nutty smell. This is when you need to remove it from the heat. Let it cool a bit before using. Brown butter adds depth to your cookies, making them taste special.
Baking time adjustments for chewy vs. crispy cookies
Baking time can change how your cookies turn out. For chewy cookies, bake for about 10 minutes. The edges should be golden, and the center looks soft. If you prefer crispy cookies, bake them for up to 12 minutes. They will be golden all over. Remember, cookies will continue to cook on the baking sheet after you take them out. So, watch them closely!
Best practices for storage and freshness
To keep cookies fresh, store them in an airtight container. This helps maintain their softness. If you want them to stay chewy, add a slice of bread to the container. The bread keeps the cookies moist. For longer storage, you can freeze them. Wrap each cookie in plastic wrap and place them in a freezer bag. When you want to enjoy them, thaw them at room temperature. They will taste as good as fresh!
Pro Tips
- Browning Butter: Make sure to keep a close eye on the butter while it’s browning, as it can go from perfect to burnt quickly. Look for a golden color and a nutty aroma.
- Chill the Dough: For even better flavor and texture, consider chilling the dough for at least 30 minutes before baking. This helps the cookies to hold their shape.
- Sea Salt Finish: Sprinkling a little sea salt on top of the cookies right before baking enhances their flavor and adds a gourmet touch.
- Storing Cookies: Store baked cookies in an airtight container at room temperature for up to a week, or freeze for longer storage. They taste great even after freezing!
Variations
Substitutions for different sugars
You can mix things up with sugars in this recipe. Instead of brown sugar, try using coconut sugar for a slight caramel flavor. You can also use all granulated sugar if you prefer a lighter taste. Each sugar gives a unique texture and flavor, so feel free to experiment.
Adding extra flavors (nuts, spices)
Want to add some flair to the cookies? You can mix in chopped walnuts or pecans for crunch. If you love spice, try a pinch of cinnamon or nutmeg. These flavors can change the whole cookie experience. Get creative and make the recipe your own!
Gluten-free options
For a gluten-free treat, swap out all-purpose flour for a gluten-free flour blend. Make sure the blend contains xanthan gum for the right texture. You can also use almond flour for a nutty taste. Just remember, the baking time may vary, so keep an eye on your cookies!
Storage Info
Proper storage techniques
To keep your brown butter chocolate chunk cookies fresh, store them in an airtight container. This keeps them soft and chewy. If you want to keep them for longer, layer the cookies with parchment paper. This method helps them not stick together. Make sure to place the container in a cool, dry place away from sunlight.
Freezing cookies for later enjoyment
Freezing cookies is a great way to enjoy them later. First, let the cookies cool completely. Then, place them on a baking sheet in a single layer. Freeze them for about an hour until firm. After that, transfer the cookies to a freezer-safe bag or container. They can last up to three months in the freezer. When you want one, just take it out, and enjoy!
Best practices for reheating cookies
Reheating your cookies can bring back their fresh-baked taste. Preheat your oven to 350°F (175°C). Place the cookies on a baking sheet. Heat them for about 5 to 7 minutes. This warms them up nicely and keeps them soft. You can also use a microwave. Heat a cookie for about 10-15 seconds. This method makes them warm but watch closely to avoid them getting too hot.
FAQs
What is the difference between brown sugar and granulated sugar in this recipe?
Brown sugar adds moisture and a rich flavor. It helps make the cookies soft and chewy. Granulated sugar helps with structure and sweetness. Using both gives you the best of both worlds.
Can I use different types of chocolate?
Yes! You can use milk chocolate or dark chocolate instead of semi-sweet. You can even mix them for a fun twist. Try adding white chocolate chunks or even peanut butter chips. Choose what you love!
How do I know when the cookies are done baking?
Look for golden edges and slightly underbaked centers. The cookies will firm up as they cool. If they are too puffy, they need more time. Keep an eye on them, as every oven is different!
This blog post covered the key steps and ingredients for making delicious cookies. We explored how to prepare your oven, make brown butter, and mix your ingredients. I shared tips for perfecting your batch and storing the cookies for freshness. By trying variations, you can customize flavors and even accommodate dietary needs.
Making cookies can be fun and rewarding. With these insights, you can bake like a pro. Enjoy the process and the tasty result