Looking for a simple dessert that wows? This No-Bake Chocolate Eclair Cake steals the show! With creamy layers of pudding and a rich chocolate glaze, it’s both easy to make and delicious. I’ll guide you through each step, share tips to avoid common mistakes, and even suggest tasty variations. Get ready to impress your friends and family with this delightful treat that requires no oven time at all!
Why I Love This Recipe
- Quick and Easy: This recipe requires no baking, making it a breeze to prepare even on a busy day.
- Decadent Flavor: The combination of creamy vanilla pudding and rich chocolate glaze creates a delightful dessert experience.
- Layered Delight: The layers of graham crackers and pudding provide a unique texture that is both satisfying and indulgent.
- Perfect for Gatherings: This cake serves a crowd, making it an ideal choice for parties, potlucks, or family gatherings.
Ingredients
Complete List of Ingredients
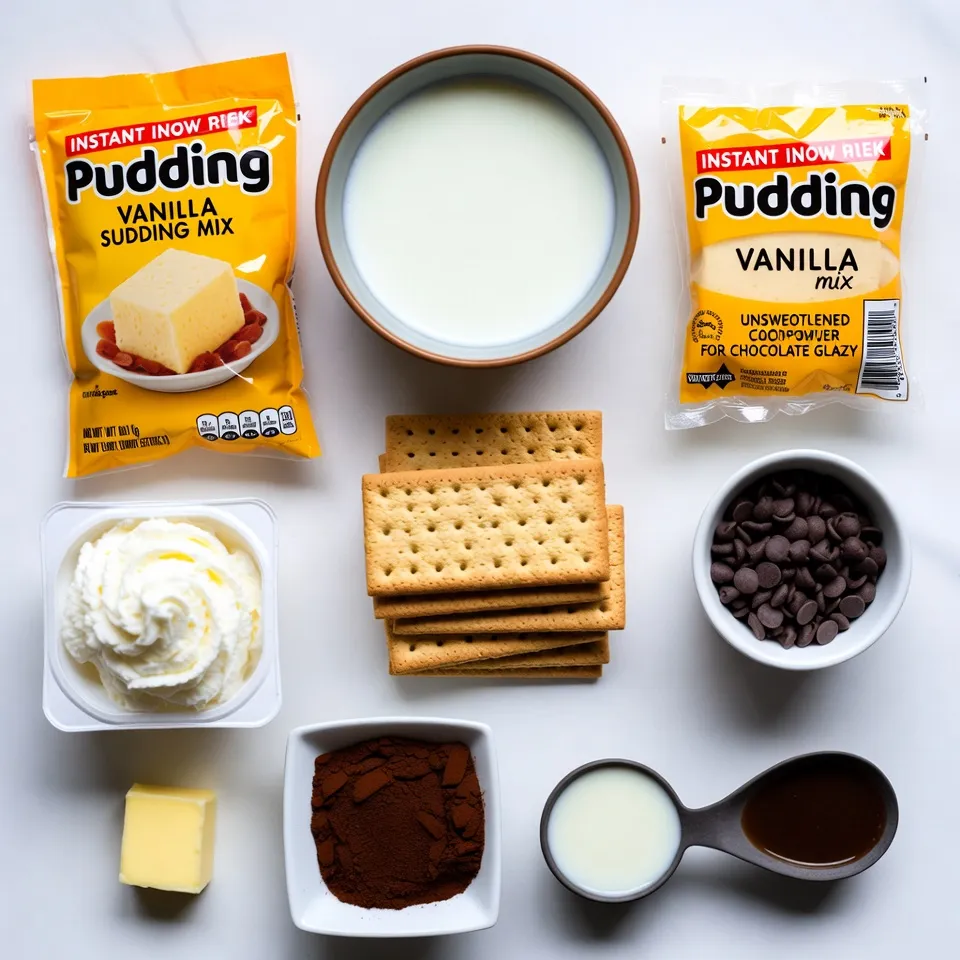
To make this tasty No-Bake Chocolate Éclair Cake, gather these items:
– 2 (3.4 oz) packages instant vanilla pudding mix
– 4 cups cold milk
– 1 (8 oz) container whipped topping, thawed
– 1 package (14 oz) graham crackers
– 1 cup semi-sweet chocolate chips
– 2 tablespoons unsweetened cocoa powder
– 2 tablespoons butter
– 1 tablespoon milk (for chocolate glaze)
– 1 teaspoon vanilla extract (for chocolate glaze)
Substitute Options for Common Ingredients
If you need to swap some ingredients, here are my tips:
– Use almond milk or soy milk instead of regular milk for a dairy-free option.
– If you can’t find whipped topping, make your own by whipping heavy cream with sugar.
– You can replace chocolate chips with white chocolate or dark chocolate for different flavors.
Recommended Brands for Best Results
For the best taste and texture, I recommend these brands:
– Pudding Mix: Jell-O is a classic choice that works great.
– Whipped Topping: Cool Whip is popular and easy to find.
– Chocolate Chips: Ghirardelli semi-sweet chocolate chips give a rich flavor.
These ingredients create a rich and creamy cake. Each layer brings joy and flavor. Enjoy making your dessert!
Step-by-Step Instructions
Preparation of Pudding Mixture
Start by getting a large bowl. Add two packages of instant vanilla pudding mix. Pour in four cups of cold milk. Whisk them together until smooth. This takes about two minutes. You want it thick and creamy. Next, fold in one container of whipped topping. Mix gently until it is fully combined. This creates a lovely custard filling.
Assembling Layers in Baking Dish
Grab a 9×13 inch baking dish. Place a single layer of graham crackers at the bottom. Make sure to cover the entire base. Then, spread half of the pudding mixture over the crackers. Use a spatula to smooth it out evenly. Now, repeat this process. Add another layer of graham crackers, followed by the rest of the pudding. Finish with a final layer of graham crackers on top. Set the dish aside as you prepare the chocolate glaze.
Creating the Chocolate Glaze
Take a small saucepan and add one cup of semi-sweet chocolate chips. Then, add two tablespoons of unsweetened cocoa powder and two tablespoons of butter. Pour in one tablespoon of milk as well. Heat this mixture over medium-low heat. Stir it until everything melts and becomes smooth. Once it is melted, remove it from the heat. Stir in one teaspoon of vanilla extract. Let the glaze cool for a few minutes. Pour it over the top layer of graham crackers. Cover the dish with plastic wrap. Refrigerate it for at least four hours, or overnight, for the best results.
Tips & Tricks
How to Achieve the Best Texture
To get the perfect texture, use cold milk when making your pudding. This helps it thicken nicely. Whisk for about two minutes until it is smooth. Then, fold in the whipped topping gently. This creates a light and creamy filling. Layer your graham crackers carefully and allow the cake to chill. Chilling for at least four hours helps the cake set well.
Common Mistakes to Avoid
One common mistake is not letting the cake chill long enough. If you skip this step, the layers may not hold together. Another error is rushing the mixing of the pudding. Make sure to whisk until smooth. Avoid using warm milk or over-mixing the whipped topping. This can make your filling too runny.
Enhancing Flavor with Additional Ingredients
You can add more flavor to your cake if you like. Try mixing in a teaspoon of almond extract with the pudding. It gives a nice twist. You can also use flavored whipped toppings, like chocolate or caramel, for extra taste. For a fun crunch, add crushed nuts or toffee bits between the layers. This makes each bite even more enjoyable!
Pro Tips
- Chill Time Matters: Allowing the cake to chill overnight will enhance the flavors and create a firmer texture, making it easier to slice.
- Graham Cracker Variations: Experiment with flavored graham crackers, such as chocolate or honey, for a unique twist on the classic recipe.
- Glaze Consistency: If the chocolate glaze is too thick, add a little more milk to reach your desired pourable consistency.
- Elegant Presentation: For an attractive finish, sprinkle some cocoa powder or chocolate shavings on top of the glaze before serving.
Variations
Alternative Flavor Combinations
You can switch up the flavor of your No-Bake Chocolate Éclair Cake easily. Try using butterscotch pudding instead of vanilla for a fun twist. You can also use chocolate pudding for a double chocolate treat. For a fruity touch, add strawberry pudding or lemon pudding. Each flavor will change the taste and make it even more fun!
Healthier Options Using Light Ingredients
If you want a lighter version, use light whipped topping and low-fat milk. You can also choose sugar-free pudding mix to cut calories. This way, you can enjoy the cake without the guilt. Remember to adjust the chocolate glaze with lighter options too, like using dark chocolate chips.
Serving Suggestions
When it’s time to serve, cut the cake into squares. You can garnish with extra whipped topping or chocolate shavings. For a fancy touch, add fresh berries on top. This makes the dessert look nice and taste even better! You can also serve it with a scoop of ice cream for a delightful combo.
Storage Info
Best Practices for Refrigerating
To keep your No-Bake Chocolate Éclair Cake fresh, cover it well. Use plastic wrap or foil. It helps keep moisture in and prevents it from picking up smells from the fridge. Make sure not to cut into the cake until you’re ready to serve. This keeps the layers intact and the cake looking nice.
How Long It Lasts in the Fridge
This cake can stay fresh in the fridge for about 3 to 4 days. The longer it sits, the softer the graham crackers become. If you like a cake with a creamy texture, enjoy it within the first two days. You’ll still get great flavor up to the fourth day.
Freezing Options and Instructions
You can freeze this cake if you want to save some for later. First, cut it into squares. Wrap each piece in plastic wrap and then in foil. This keeps it safe from freezer burn. You can freeze it for up to 3 months. When you’re ready to eat it, thaw it overnight in the fridge. Enjoy your treat!
FAQs
Can I use homemade pudding instead of instant?
Yes, you can use homemade pudding. Just make sure it is thick. Instant pudding helps save time. If you use homemade pudding, let it cool before mixing with whipped topping. This makes a rich filling.
How do I know when the cake is ready to serve?
You know the cake is ready when it has set well. After chilling for at least 4 hours, the layers should hold together. A good test is to see if it slices cleanly. If it does, it is ready to enjoy!
What can I do if the chocolate glaze hardens too much?
If your chocolate glaze hardens, warm it gently. Place the glaze in a small bowl over hot water. Stir until it softens. You can also add a bit of milk to thin it out. This will help make it smooth again.
This blog post covered all you need to make a great pudding dessert. We explored the ingredient list, how to layer it, and tips for better taste and texture. Knowing how to store your dessert is key for enjoying it later, too.
Remember, you can always swap ingredients or add new flavors for fun twists. With these steps, you’ll impress everyone with your cooking. Enjoy your tasty creations and share them with loved one